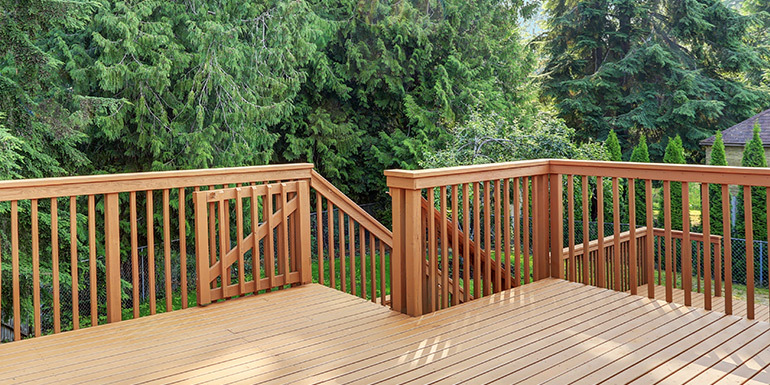
Knowing how to build a deck gate is a beneficial skill for homeowners. Putting a gate at the top of your deck stairs is a simple safety solution. With a gate in place, your deck becomes a secure play area for your children and pets.
SAFETY GUIDELINES FOR DECK GATES
Before you start building, consider safety. International Building Code regulations are the most stringent guidelines you can use, so Handyman Services Silver Spring recommends following these rules when building your deck gate:
- Hand rails and gates must be at least 42″ above the deck surface.
- No gaps in or under the gate can be wider than four inches.
- The gate must open onto the deck, not the stairs.
HOW TO BUILD A DECK GATE: STEP-BY-STEP
With just some basic tools and materials, you can add a simple but attractive gate to your deck. There are far worse ways to spend a sunny afternoon at home!
You will need:
- Measuring tape
- Table saw
- Drill
- Lumber – pressure-treated 2x4s and several 2×2 balusters, depending on the desired width
- Wood screws
- Two gate hinges
- One gate latch
- Four metal corner braces
Here is how to build a deck gate in eight easy steps:
- Measure the opening at the top of the stairs. Subtract one inch from this measurement to allow space for hinges and a latch. Cut two pressure-treated 2x4s to this length. These will make the top and bottom of your gate’s frame.
- Measure the desired height of the gate; remember that the bottom edge of your gate cannot be more than four inches above the deck surface. Subtract the width of the top and bottom boards (about 7 inches total) from your measurement, and then cut two 2x4s to that length. These will frame in the sides of your gate.
- Use three-inch wood screws to attach the four 2×4 beams together in an open rectangle, with the wider (3.5″) edges of the boards facing outward like a picture frame.
- Lay a 2×4 underneath the gate frame diagonally. Use a pencil to mark where you need to cut the ends of the cross member. Trim the 2×4 and screw it into place.
- Now you need to add balusters to the inside of the frame. Measure the inside dimensions of the frame and cut the desired number of 2×2 balusters to the appropriate length. Remember that you cannot have any gaps in the gate greater than four inches. Attach the balusters to the frame with wood screws. If you wish to paint your gate, do it before moving on to step 6. Be sure to apply durable exterior paint in a well-ventilated area – preferably outside. Allow the paint to dry completely before continuing to work on the gate.
- Next, add hardware to the gate. Attach two hinges (top and bottom) to one side of the gate and affix a latch barrel to the other side. Screw a metal brace into each corner for additional stability.
- Ask a friend to hold the gate in place, ideally resting it on a level support while you attach the hinges to the deck railing. Remember that the gate must open onto the deck, not the stairs.
- Attach the latch mechanism to the opposite side of the deck railing.
Congratulations, you have built and attached a deck gate!
HOW TO BUILD A DECK GATE WITHOUT LIFTING A FINGER?
If learning how to build a deck gate that you’ll actually enjoy is proving to be difficult – or if you just can’t find the time – your local Handyman Services Silver Spring can help. While we’re at it, we can complete any of your other outdoor or indoor handyman projects. Call us today to learn more

